Escaping Logi Options+ with an Apple IIGS Keyboard
So far, this winter has been pretty slow and grim, so I am going to talk about this beautiful and somewhat random Apple keyboard from "the '80s" that I recently started using. Also, brace yourself, I just added a new <kbd> tag, so I am probably going to overuse it in this post :)
I'm not your typical keyboard nerd by any means, I actually knew nothing about the mechanical keyboards world before writing this post. On a daily basis, prior to this conversion, my default external keyboard was the MX Keys Mini. I really loved low-profile ones like Logitech's, but in recent years, due to the enshittification of the company, mainly driven by useless AI "prompt builders" and the bloated Logi Options+, I started looking for alternatives. Also no matter how often I saved my preferences or disabled those damn custom Caps Lock notifications, the app would still revert to defaults every few days. I absolutely hated it.
Anyway, last December, when I went back home to Italy for Christmas, I saw this keyboard again sitting on a dusty shelf, and I thought: is this thing even working? Why not finally put it to good use.
I originally rescued this keyboard in 2009 from a high school in Taranto, thanks to a family friend who used to work at the school and he told me they were going to get rid of lots of old computers. That day, I was able to snatch a fully working Apple IIe, an ImageWriter II, and this IIGS QZERTY keyboard, which led me to assume they probably had an Apple IIGS lying somewhere. Pity I was too young to understand the retrocomputing treasure they were hiding in that school...
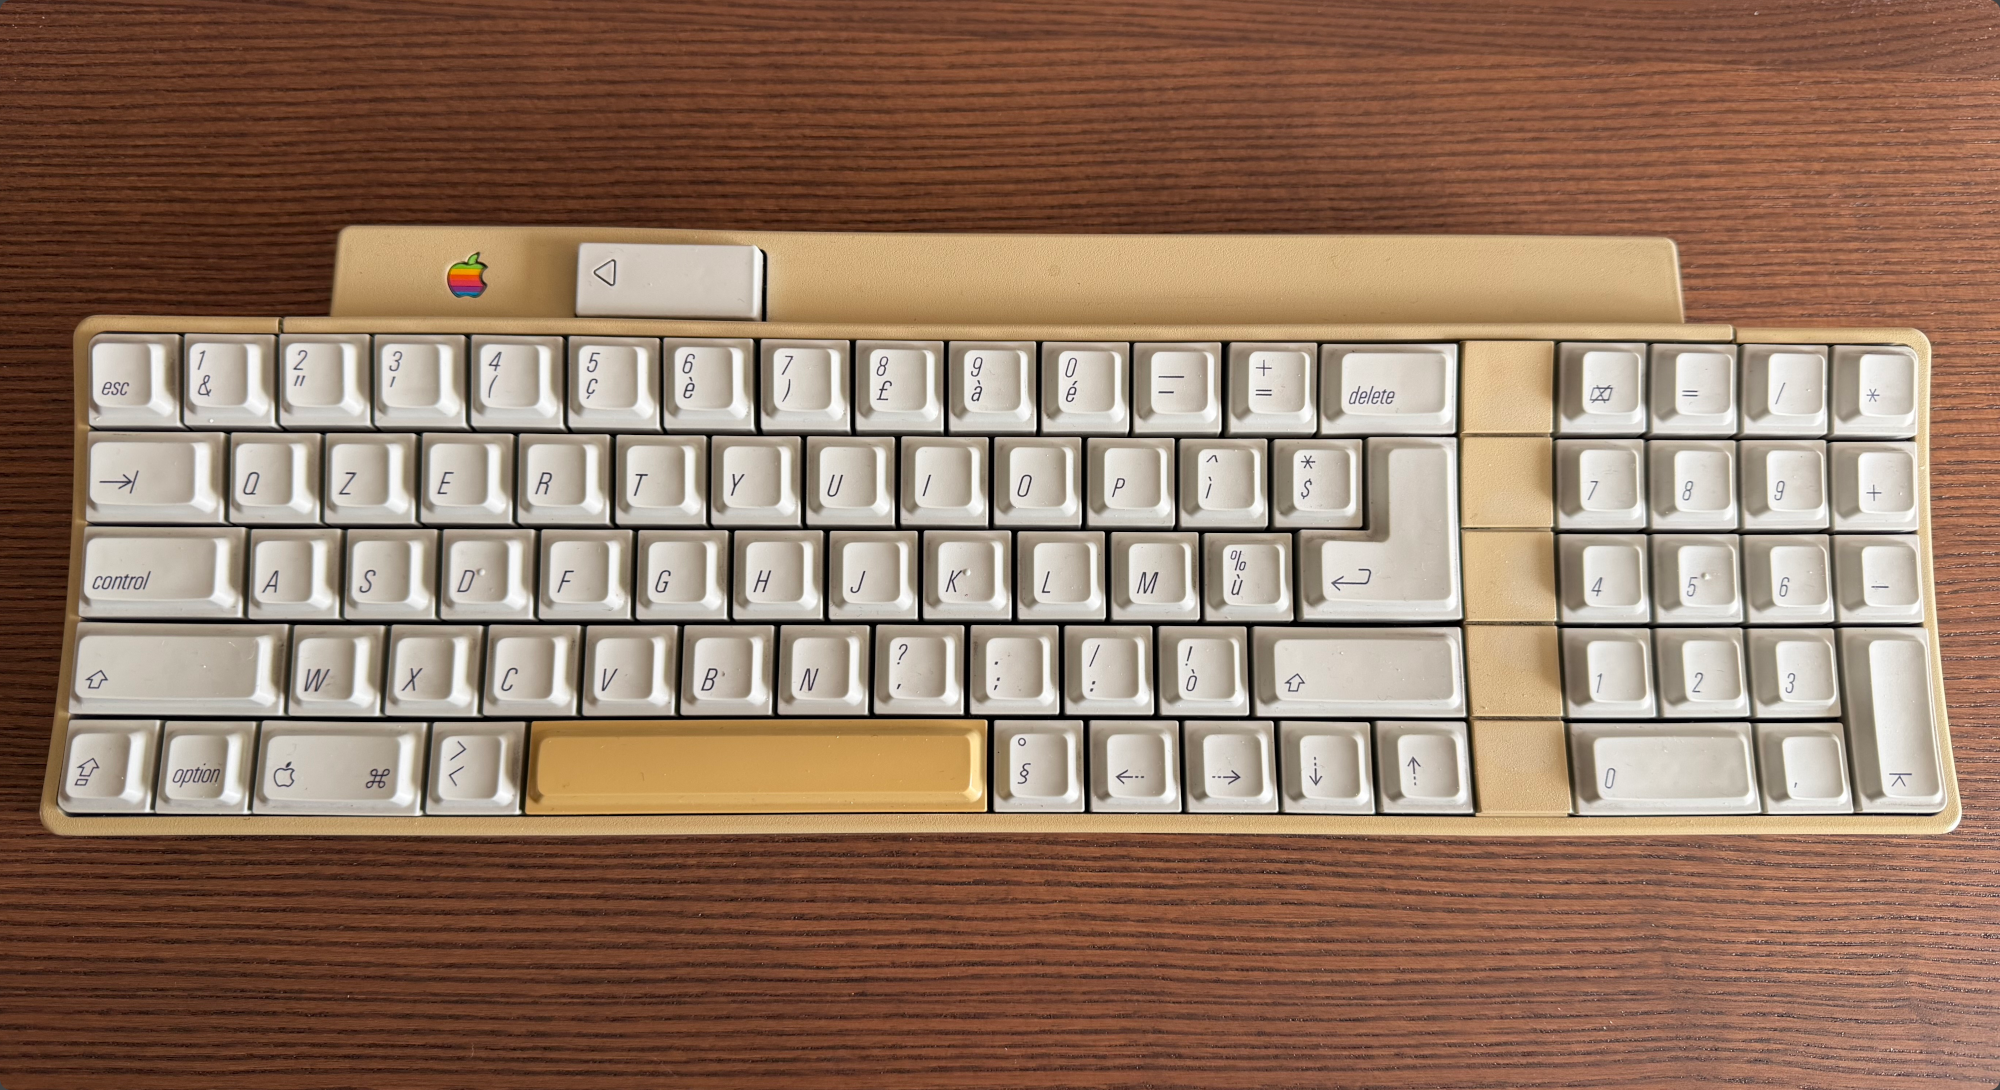
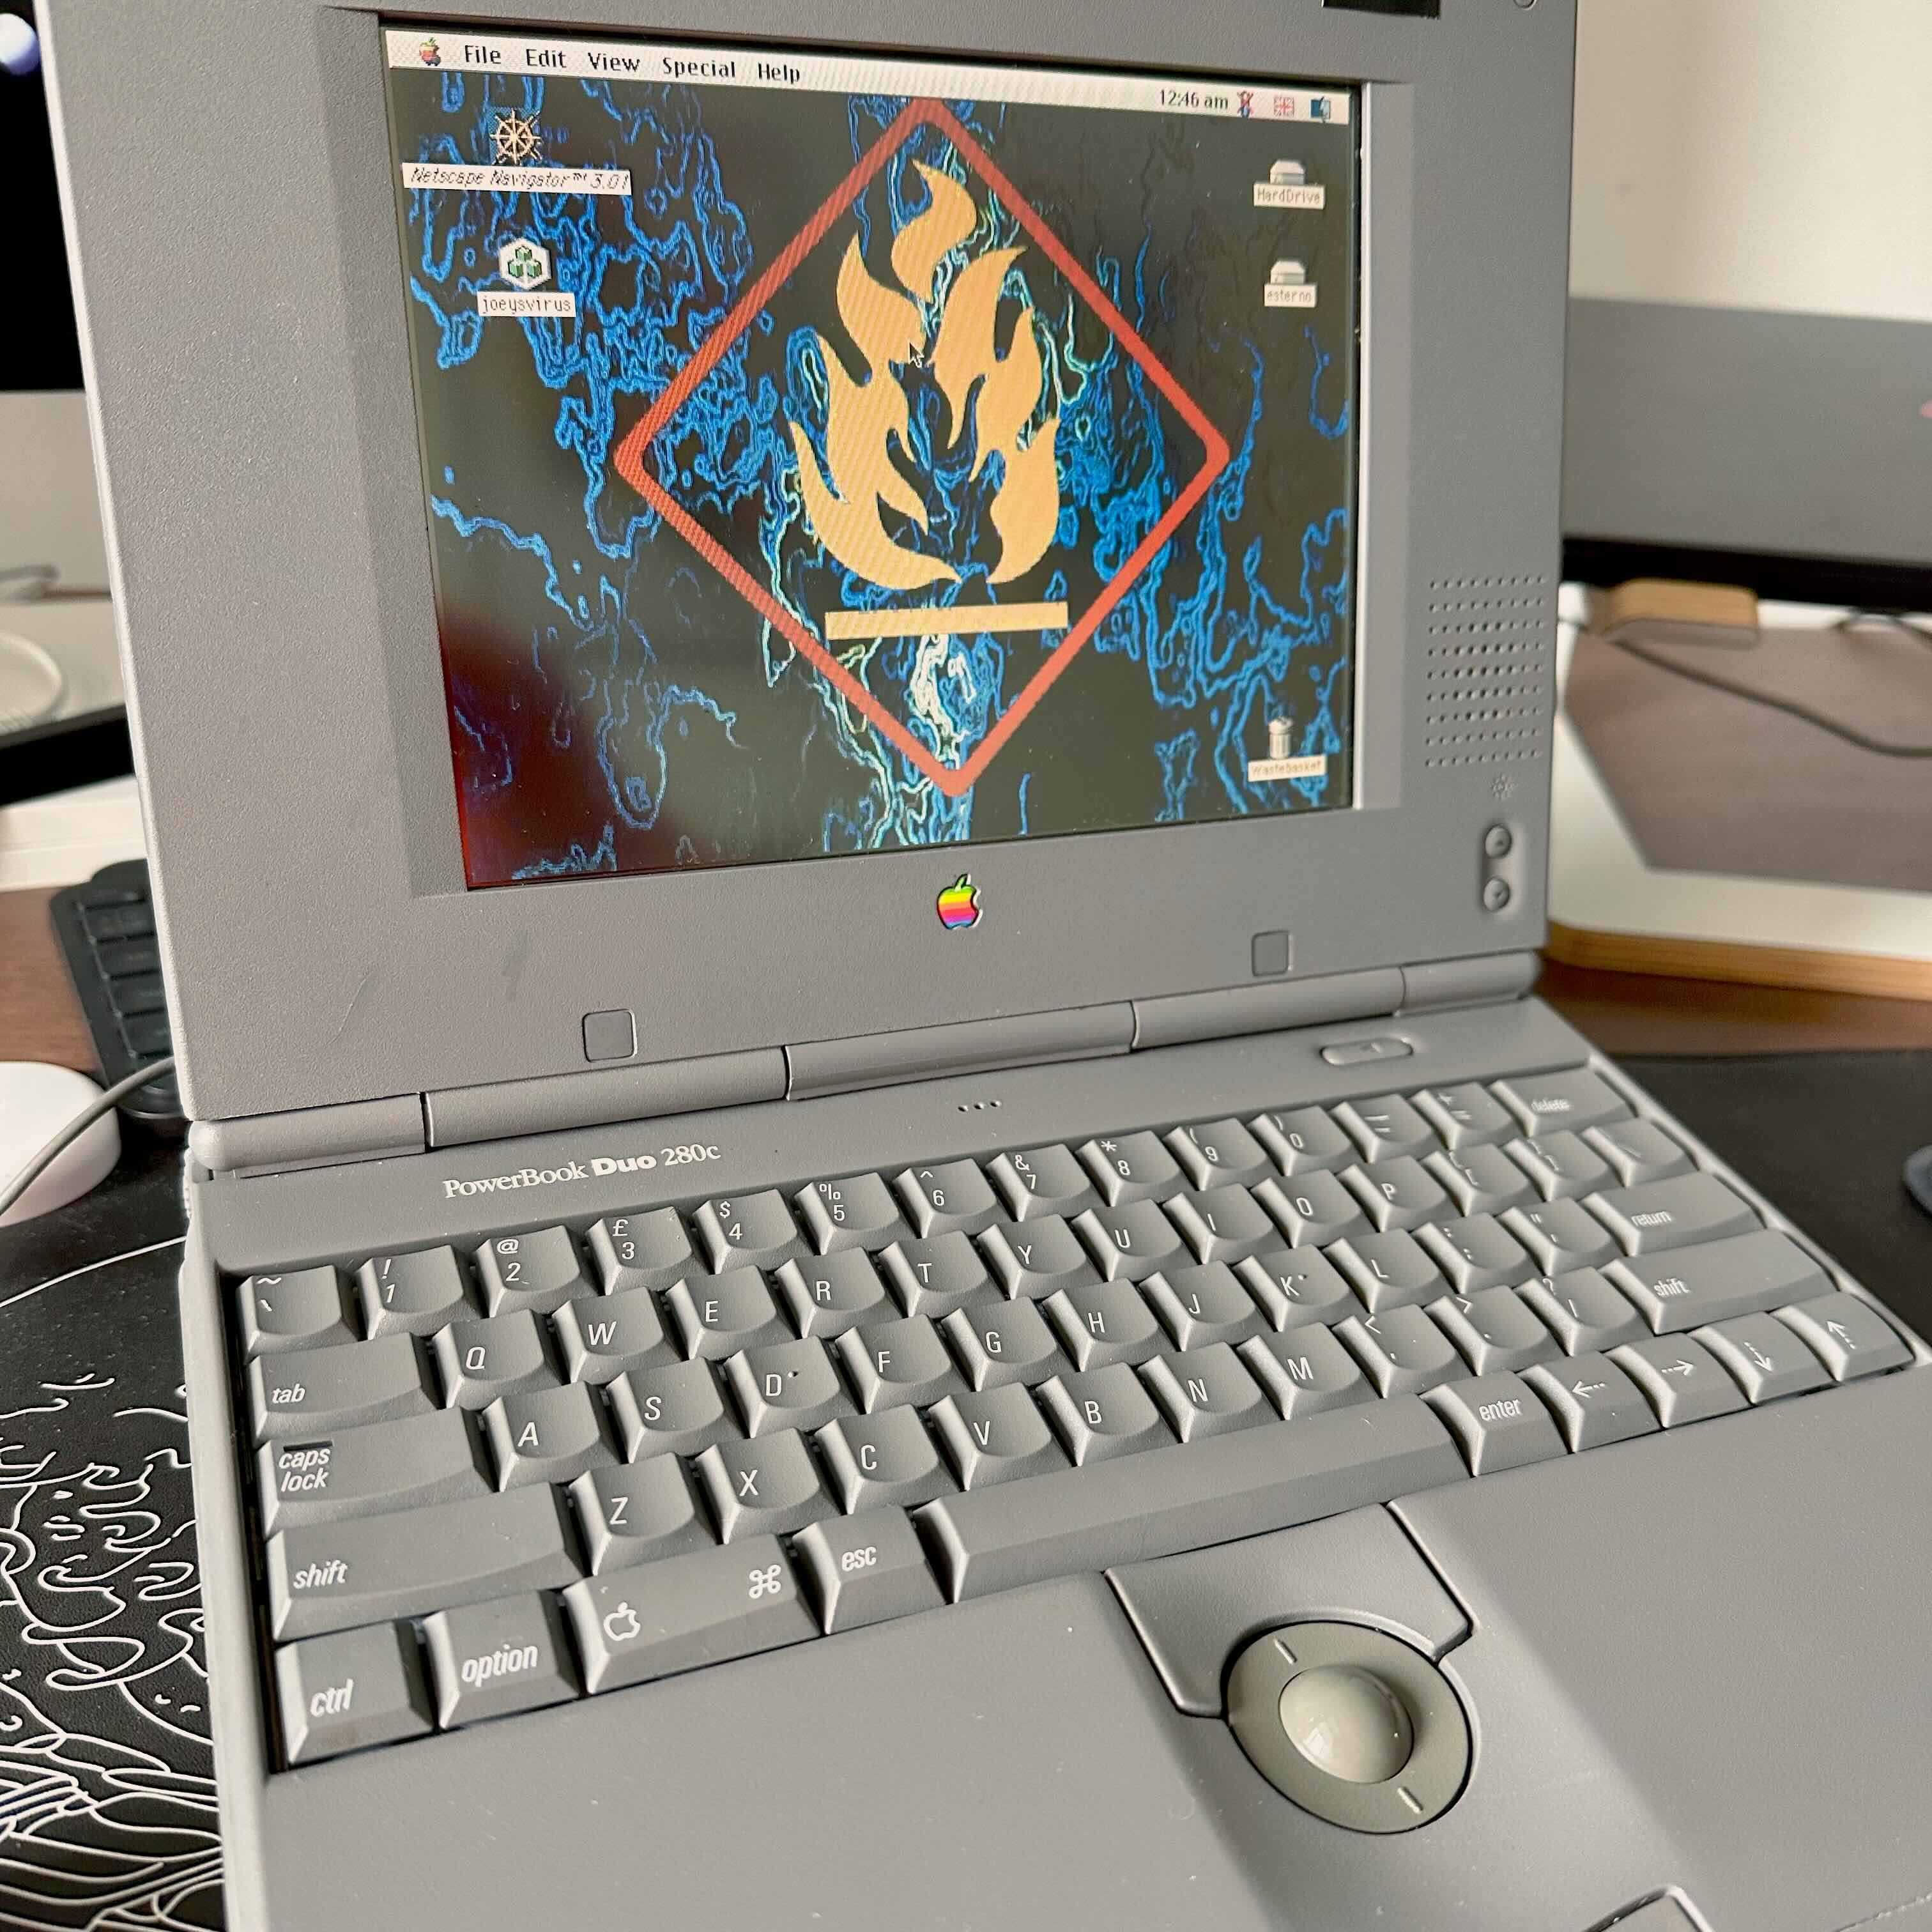
The exact model is the A9M0330 (658-4081), also known simply as the Apple ADB Keyboard. It was built in Japan, probably in 1986, when the IIGS was released. It was the first model to feature the ADB connector, allowing you to daisy-chain other peripherals (like a mouse), which is very neat compared to that weird reversed phone jack on the M0110/A. Another fun fact I read is that the font used on the keycaps is called Univers Light Condensed Oblique, which also appears on my other Powerbook Duo 280c.
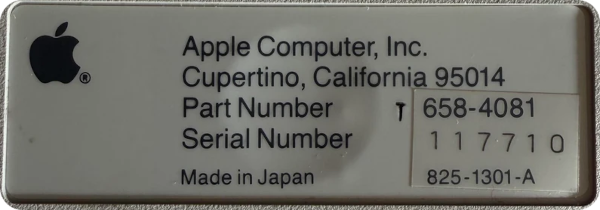
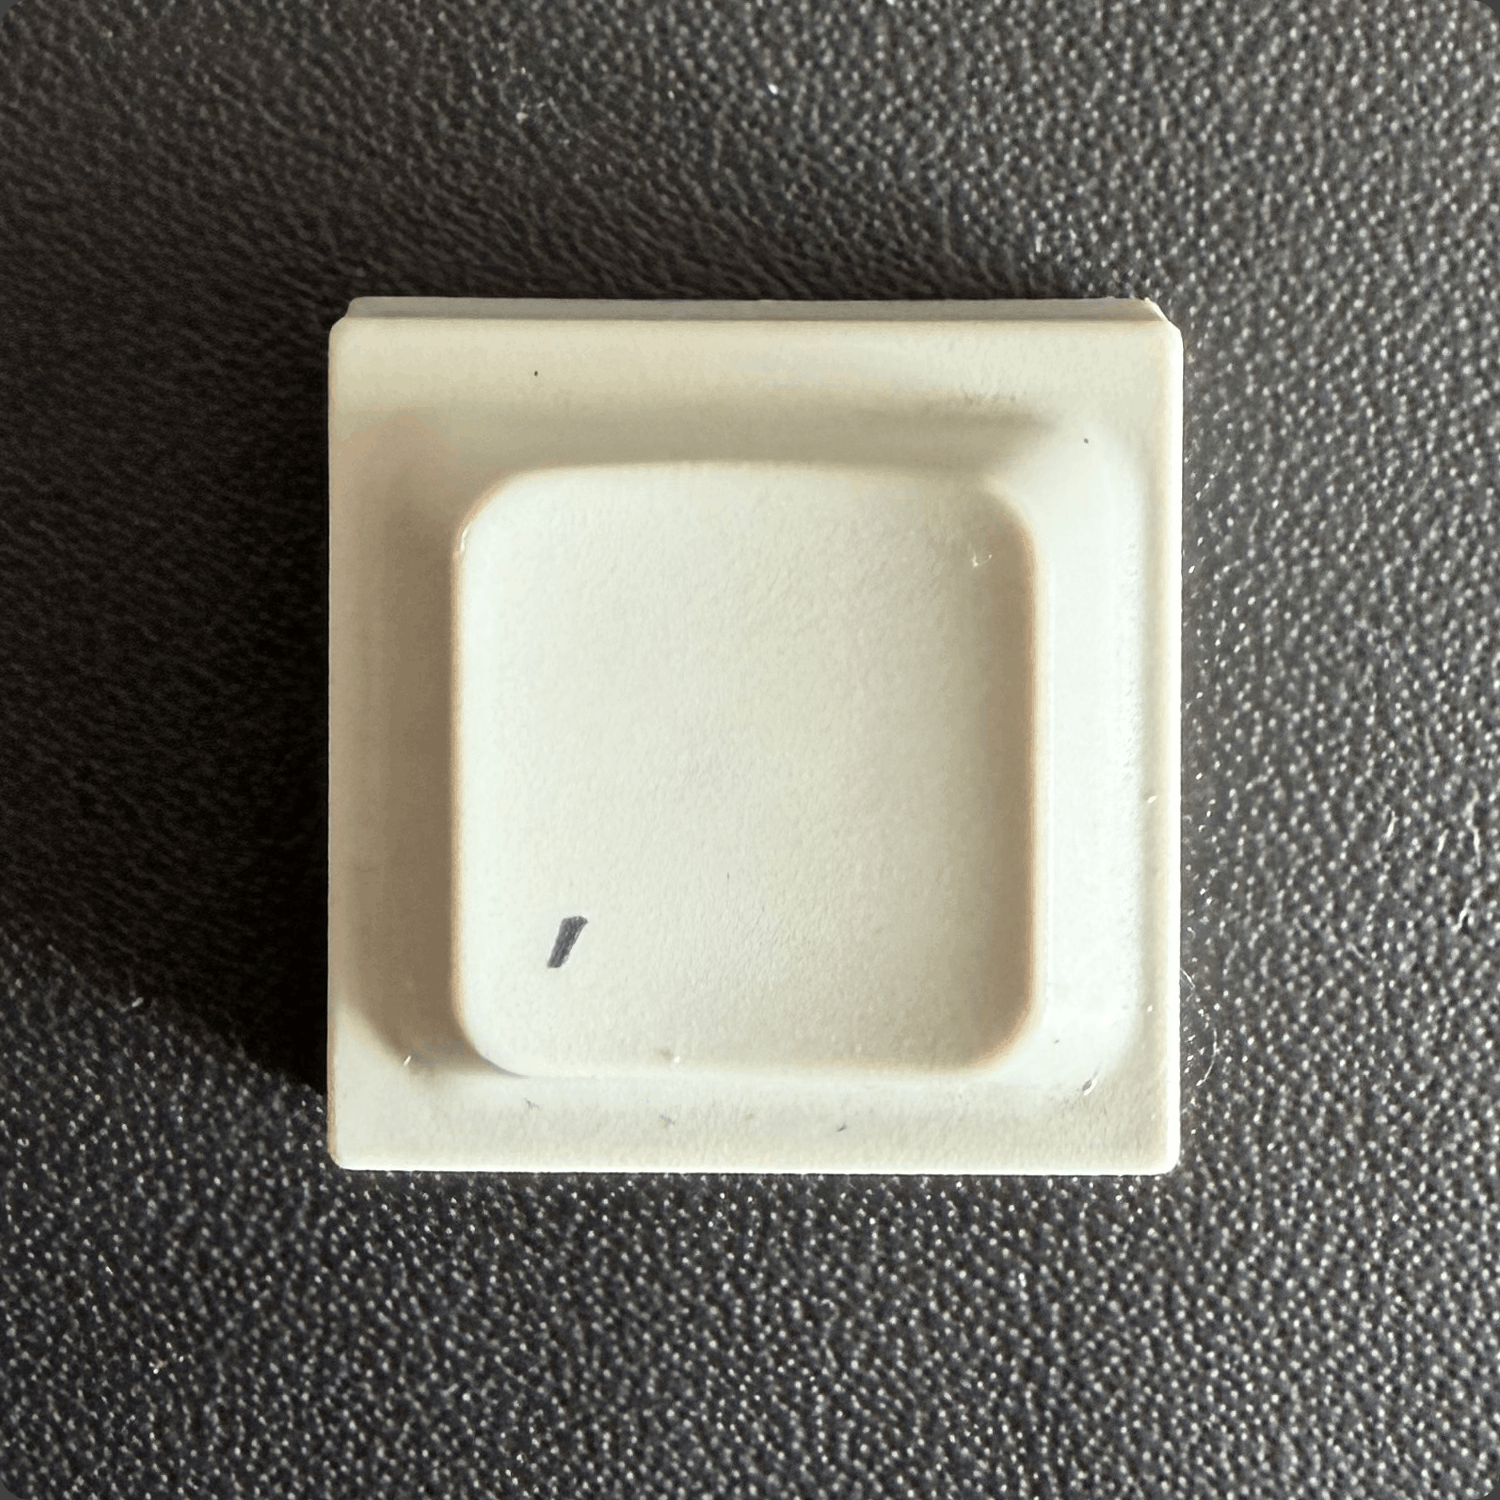
All I could find on the back was this:
I started researching an ADB-to-USB converter and stumbled upon a Big Mess o' Wires project called the ADB-USB Wombat Input Converter. It was perfect. I could even redefine the key mapping by flashing the converter's firmware, so I purchased it without thinking twice.
When the converter finally arrived, I tested all the keys and, to my surprise, every single one worked perfectly, which is wild considering this keyboard could be exactly 40 years old. Thankfully, after plugging it into my Mac, I was able to use the ISO English layout instead of QZERTY, which I was afraid I'd have to learn. The only thing left was figuring out where all the special keys were, like ~ ` and | \. Spoiler alert - they're at the borders of the space bar OBVIOUSLY! One thing I really appreciated was having the contrl key where Caps Lock ⇪ usually is. It felt surprisingly ergonomic and much easier to reach.
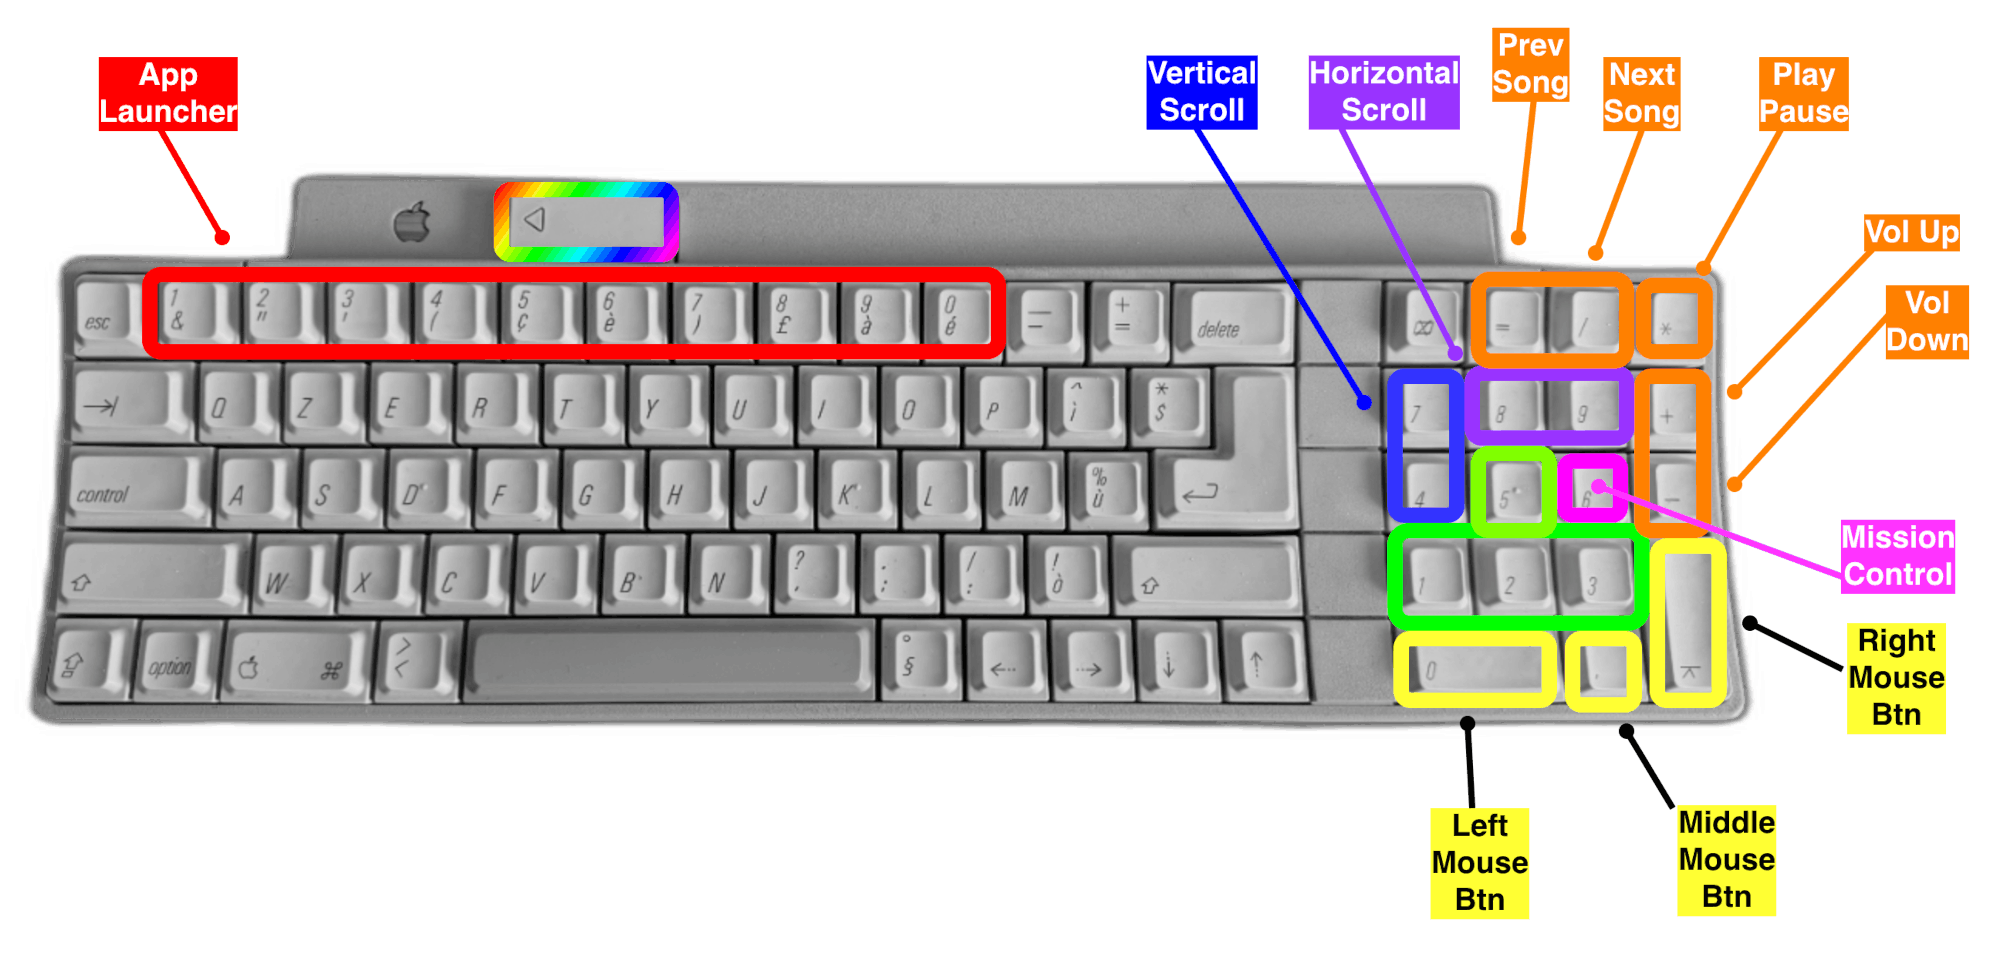
After using it for a few days, I realized I was in desperate need of some key mapping modifications. I was really struggling with the weird arrow key placement, and I was missing a forward delete key. Starting from the converter's firmware, I decided to fire up the Keymap Tool from BMOW and replaced the Clear ⌧ key with forward delete. I also remapped the arrow keys (including swapping the keycaps) from the odd ⇠⇢⇣⇡ layout to ⇠⇣⇡⇢, similar to a Vim-style arrow configuration that I am already used to.
I then downloaded the newly generated keymaps.hex file, flashed the firmware, and it just worked.
Hijacking the ◁ Button
I don't know if you noticed something in the first picture. There is a small rectangular button with a triangle on it, next to the gorgeous rainbow logo. After a bit of research, I discovered it was used to power the computer on and off directly from the keyboard. Apple actually retained this feature to this day in newer models, although the choice of the triangle icon is a bit odd, to be honest. Out of the box, the key does nothing. Steve Chamberlin even wrote on his blog about the difficulty of replicating the same behavior with the converter. So I thought this key could potentially be used as a Fn modifier, allowing me to create all sorts of combinations. Obviously, this could not be achieved with Steve's converter alone and I couldn't just use Karabiner-Elements since it's blocked on my work laptop. So I had to come up with a software solution.
I started by remapping the Power key to F13 via firmware. Then I looked for the best way to write this software that would let me use macOS APIs to execute commands, control media keys, and finally... move my mouse cursor!
I know this sounds a bit tacky, but I remember a colleague once showing me his cool mechanical keybaord, and the thing that fascinated me the most was that he could control the mouse directly from it. I was really motivated to replicate the same behavior. My idea was to use the Num Pad keys to move the cursor with my right hand while toggling the feature with the Power key with my left.
Here's what I wanted my new shortcuts to look like:
In the end, I settled on Swift because it seemed like the most logical choice for interfacing with system APIs, and also because I had learned it a bit during college. That said, I was heavily assisted by Claude Code, since I had not touched the language in almost ten years.
ADBridge
I came up with my own Logi Options+ (that doesn't actually suck) and I called it ADBridge. The first PoC simply allowed me to control the system volume by pressing ◁ together with + or - on the Num Pad. This was achieved by mapping media key values, for example 16 for Play/Pause and 0 and 1 for volume up and down, respectively. When the button on the keyboard is pressed, it gets intercepted by my Swift program, which then constructs a synthetic NSEvent of type .systemDefined with subtype 8 (the macOS convention for media keys) and uses CGEvent.post to send key down and key up tap events.
The next task was spawning processes using the number row (akin to macOS Dock bar) where each number key would be associated with a string such as -a /Applications/Firefox.app.
Upon intercepting the key press, I would pass that string to the following function:
func handleAppOpener(_ processArgs: [String]) {
    let task = Process()
    task.executableURL = URL(fileURLWithPath: "/usr/bin/open")
    task.arguments = processArgs
    try? task.run()
}
The last remaining part was controlling the mouse. To do that, I had to tackle the following scenarios:
- changing the X and Y axes for the mouse position, including diagonal movement
- horizontal and vertical scrolling
- left/right/middle mouse button click
For cursor movement and clicks, I retrieve the current CGPoint location from a dummy event, then create a CGEvent with the appropriate mouse type and post it to .cghidEventTap. For scrolling, I use the separate scrollWheelEvent2Source initializer. Clicks also track timing to set the click count field, enabling double-click support. I even discovered that for having a smooth mouse scroll (120Hz) I could just enclose the function call into this neat timer:
movementTimer = Timer.scheduledTimer(withTimeInterval: 1.0/120.0, repeats: true) { _ in
  updateMouseLoop()
}
Everything was working just great. Honestly, I'm impressed by how natural it feels to control the cursor with the Num Pad. If you have one, try it: rest your hand there and just imagine navigating. Having left-click mapped to 0 and right-click to Enter ⌤ aligns perfectly with my thumb's natural resting position. Even Microsoft and Apple offer in-house solutions, though slightly different from my configuration, proving I'm not the only one who finds this useful.
![]() ADBridge is freely available on GitHub. Build the
ADBridge is freely available on GitHub. Build the .app, grant the required permissions, and you are good to go.
Full disclosure again: I did use Claude Code to help me make this app, since I had no idea how to use some of the more obscure macOS APIs, such as invoking media keys or fixing sticky edge issues when moving the mouse across multiple monitors.
Final thoughts
I love this keyboard. I can't believe I waited so long before actually starting to use it. I'm sure it will inevitably die at some point due to its age, but I would rather give it a second life than leave it sitting on a shelf. I also hope you appreciate the app icon I designed, it was based on a real picture of a keycap.
It's funny how this keyboard is so loud that sometimes I cannot even hear my colleagues over Zoom. This specific model also has Orange Alps switches, which are apparently quite rare. This is what typing my blog URL actually sounds like:
I recommend watching this insane mod by mtt on YouTube. It is nice to see people still hacking on these vintage keyboards, I would've loved to do a QMK mod for this board but I was so afraid of opening the case, even just to clean it up properly.
The software customizations I made were super fun to implement. I definitely don't see myself using the numeric keypad mouse for heavy tasks like working in GIMP or video editing, but it's a lifesaver during PR reviews when I don't want to take my hands off the keyboard.